Live Queries are now deprecated.
Real-time chat is everywhere. It has many benefits including greater productivity, engagement, and efficient collaboration.
In this tutorial, we will build a real-time chat app using three popular technologies:
- Next.js
- GraphQL
- Server-Sent Events
Unlike other tutorials that teach you how to use WebSockets, we will use server-sent events to deliver messages to users in the chat.
Since we will persist messages to the Grafbase Database, we can use GraphQL Live Queries to stream new messages to the browser in real-time.
Let's begin by creating a new Next.js app using the npx command:
npx create-next-app chatbase
You'll be prompted to answer a few questions about your Next.js setup.
✔ Would you like to use TypeScript with this project? … Yes
✔ Would you like to use ESLint with this project? … Yes
✔ Would you like to use Tailwind CSS with this project? … Yes
✔ Would you like to use `src/` directory with this project? … Yes
✔ Would you like to use experimental `app/` directory with this project? … No
✔ What import alias would you like configured? … @/*
We'll be using Tailwind CSS to style our real-time chat app so make sure to install that.
Before we continue let's confirm everything is set up and working by updating the background color of our document.
Inside the file src/pages/_document.tsx add the following:
import { Head, Html, Main, NextScript } from 'next/document'

export default function Document() {
  return (
    <Html lang="en">
      <Head />
      <body className="bg-[#131316]">
        <Main />
        <NextScript />
      </body>
    </Html>
  )
}
Next, replace the contents of src/pages/index.tsx with the following:
export default function Home() {
  return (
    <div className="flex flex-col">
      <h1 className="text-white">Hello Grafbase!</h1>
    </div>
  )
}
Finally, update the next.config.js to include a custom domain that can be used with the Next.js <Image /> component:
/** @type {import('next').NextConfig} */
const nextConfig = {
  reactStrictMode: true,
  images: {
    domains: ['avatars.githubusercontent.com'],
  },
}

module.exports = nextConfig
We're now ready to start the Next.js development server and confirm all is working:
npm run dev
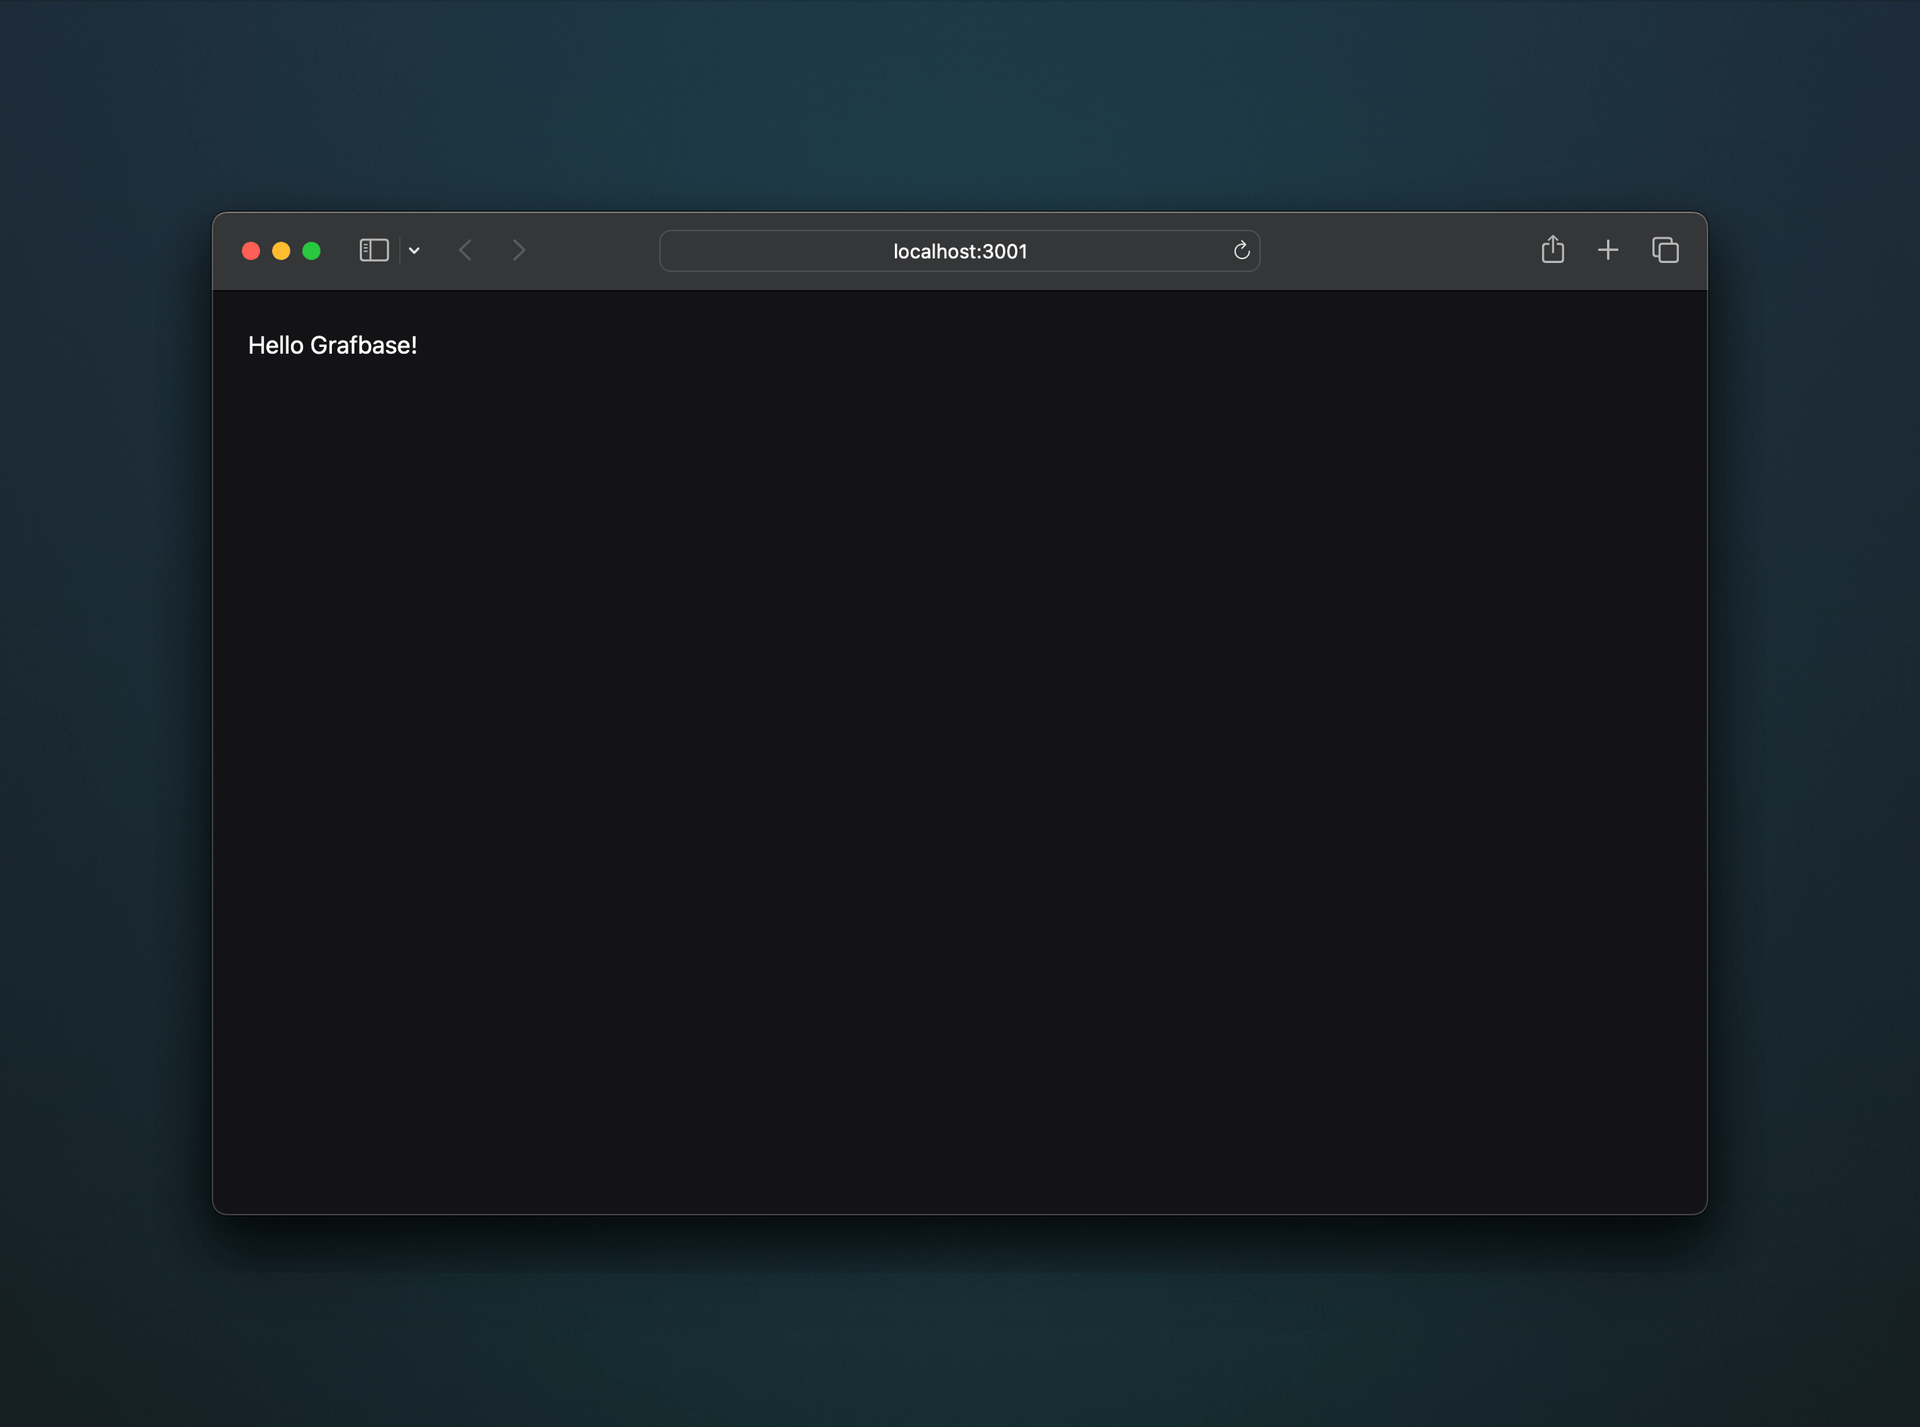
You should see at http://localhost:3000 something like this:

We'll be using GitHub to authenticate users which we will configure in the next step. Before we do that we must create an application with GitHub to retrieve the Client ID and Client Secret.
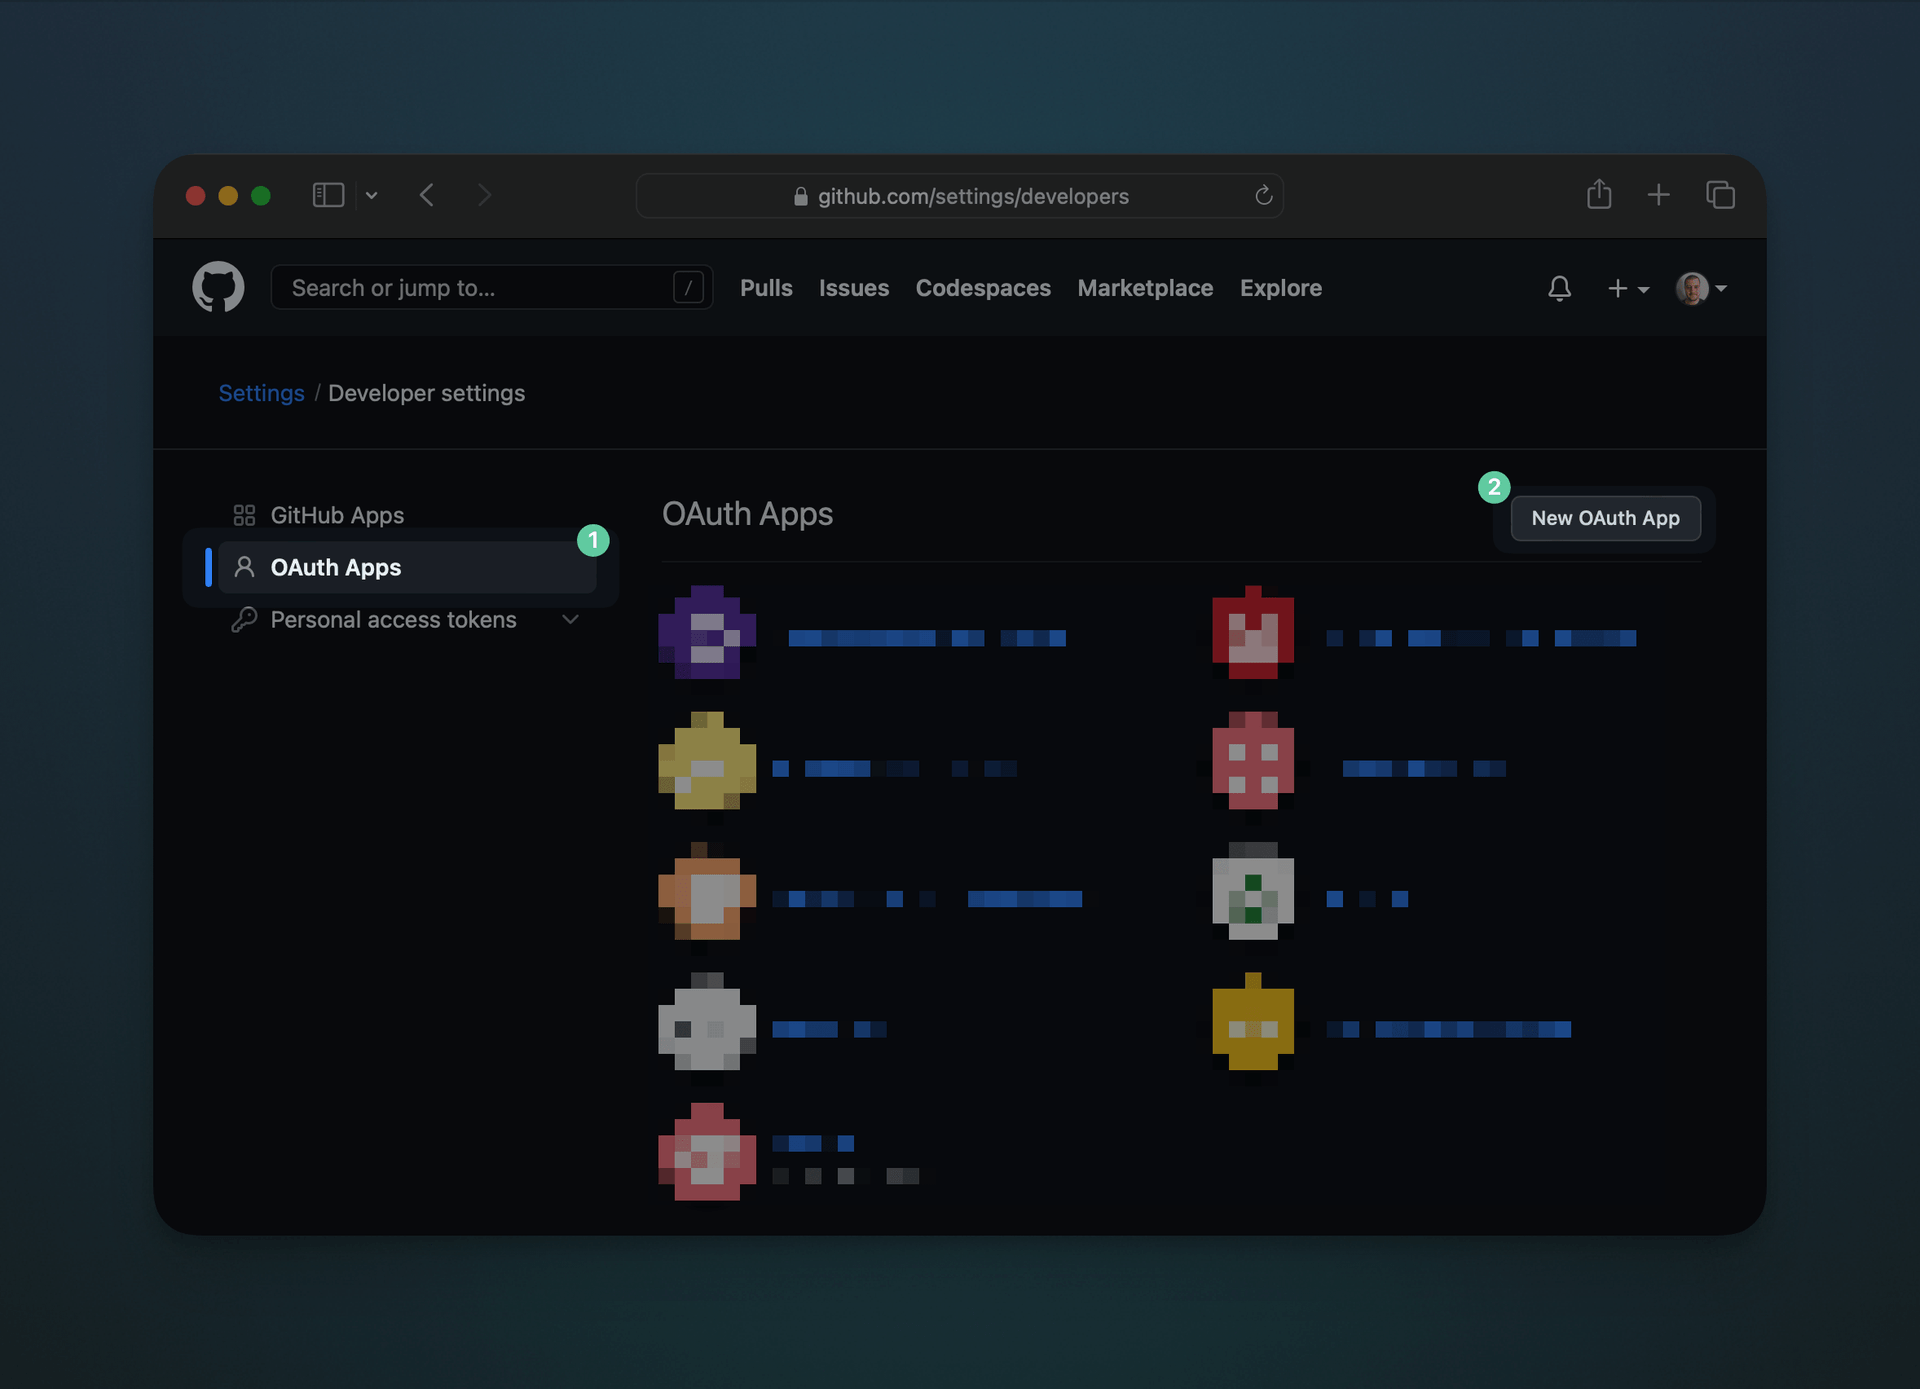
Go to Settings > Developer Settings > OAuth Apps and click New OAuth App:

Give your application a name, homepage URL, and description. These will be shown to users when they authenticate.
The Authorization callback URL must be in the following format:
https://localhost:3000/api/auth/callback/github
You should create another OAuth App for your production instance. Make sure to set the callback URL to your production app, for example:
https://chatbaseapp.vercel.app/api/auth/callback/github
Once you're done, click Register application. You will now see your Client ID and Client Secret values.
Create the file .env in the root of your project that includes the above values as environment variables:
GITHUB_CLIENT_ID=
GITHUB_CLIENT_SECRET=
The chat app will require users to create an account and login to read and send messages. To do this we will be using NextAuth.js.
Let's begin by installing our first dependency:
npm install next-auth
Now create the file src/pages/api/auth/[...nextauth].ts and add the following:
import NextAuth, { NextAuthOptions } from 'next-auth'

export const authOptions: NextAuthOptions = {
  // ...
}

export default NextAuth(authOptions)
We will use the GitHub provider so we don't have to store user passwords. Update the [...nextauth].ts file to contain the following:
import NextAuth, { NextAuthOptions } from 'next-auth'
import GitHubProvider from 'next-auth/providers/github'

export const authOptions: NextAuthOptions = {
  providers: [
    GitHubProvider({
      clientId: process.env.GITHUB_CLIENT_ID!,
      clientSecret: process.env.GITHUB_CLIENT_SECRET!,
    }),
  ],
}

export default NextAuth(authOptions)
Now update the file .env in the root of your project with the following environment variables:
NEXTAUTH_SECRET=thisIsSuperSecret!
Finally, let's finish by updating src/pages/_app.tsx to include the SessionProvider from NextAuth.js:
import { SessionProvider } from 'next-auth/react'
import type { AppProps } from 'next/app'
import '../styles/globals.css'

export default function App({
  Component,
  pageProps: { session, ...pageProps },
}: AppProps) {
  return (
    <SessionProvider session={session}>
      <Component {...pageProps} />
    </SessionProvider>
  )
}
Now we have NextAuth.js configured with the GitHub provider, we can now use the NextAuth React hooks to conditionally show elements based on the session status.
Create the file src/components/header.tsx that we will use to create a shared <Header /> component.
This component will show your avatar and name if you're signed in, otherwise a button to "Sign in with GitHub".
import { signIn, signOut, useSession } from 'next-auth/react'
import Image from 'next/image'

export function Header() {
  const { data: session } = useSession()

  return (
    <header className="p-6 bg-white/5 border-b border-[#363739]">
      <div className="max-w-4xl mx-auto">
        <div className="flex justify-between items-center">
          <span className="text-white font-bold text-xl">Chatbase</span>
          {session ? (
            <div className="flex space-x-1">
              {session?.user?.image && (
                <div className="w-12 h-12 rounded overflow-hidden">
                  <Image
                    width={50}
                    height={50}
                    src={session?.user?.image}
                    alt={session?.user?.name || 'User profile picture'}
                  />
                </div>
              )}
              <button
                onClick={() => signOut()}
                className="bg-white/5 rounded h-12 px-6 font-medium text-white border border-transparent"
              >
                Sign out
              </button>
            </div>
          ) : (
            <div className="flex items-center">
              <button
                onClick={() => signIn('github')}
                className="bg-white/5 rounded h-12 px-6 font-medium text-white text-lg border border-transparent inline-flex items-center"
              >
                Sign in with GitHub
              </button>
            </div>
          )}
        </div>
      </div>
    </header>
  )
}
Now create a new GraphQL backend using the Grafbase CLI:
npx grafbase init
Then replace the contents of grafbase/schema.graphql with the following to create our database model Message:
type Message @model {
  username: String!
  avatar: URL
  body: String!
  likes: Int @default(value: 0)
}
Since NextAuth.js requires users to be logged in, we want to do the same with our Grafbase Database.
Grafbase Auth lets us configure which auth strategy should be used to protect our backend. Since NextAuth.js issues JWTs we will use the jwt provider.
Inside grafbase/schema.graphql add the following:
schema
  @auth(
    providers: [
      { type: jwt, issuer: "nextauth", secret: "{{ env.NEXTAUTH_SECRET }}" }
    ]
    rules: [{ allow: private }]
  ) {
  query: Query
}
Now create the file grafbase/.env with the environment variable NEXTAUTH_SECRET set to the same value you have inside the root .env:
NEXTAUTH_SECRET=thisIsSuperSecret!
To finish configuring NextAuth.js with Grafbase we will need to update the JWT generated to include the iss claim that matches the issuer value in the grafbase/schema.graphql config.
Inside src/pages/api/auth/[...nextauth].ts update the authOptions object to include the jwt and callbacks overrides:
export const authOptions: NextAuthOptions = {
  providers: [
    // Leave as is
  ],
  jwt: {
    encode: ({ secret, token }) =>
      jsonwebtoken.sign(
        {
          ...token,
          iss: 'nextauth',
          exp: Math.floor(Date.now() / 1000) + 60 * 60 * 60,
        },
        secret,
      ),
    decode: async ({ secret, token }) =>
      jsonwebtoken.verify(token!, secret) as JWT,
  },
  callbacks: {
    async jwt({ token, profile }) {
      if (profile) {
        token.username = profile?.login
      }
      return token
    },
    session({ session, token }) {
      if (token.username) {
        session.username = token?.username
      }
      return session
    },
  },
}
Now when tokens are generated they will be signed using the NEXTAUTH_SECRET already configured, and contain the same issuer value nextauth.
We're now ready to start the Grafbase development server using the CLI:
npx grafbase dev
So that our application can make requests to our Grafbase backend, we will need to install a GraphQL client.
We'll be using Apollo Client in this example:
npm install @apollo/client graphql jsonwebtoken
npm install --save-dev @types/jsonwebtoken
We will need to create a custom wrapper component for Apollo Client so we have a bit more control over what's sent to the backend.
Create the file src/components/apollo-provider-wrapper.tsx and add the following:
import type { PropsWithChildren } from 'react'
import { useMemo } from 'react'
import {
  ApolloClient,
  ApolloProvider,
  HttpLink,
  InMemoryCache,
  from,
} from '@apollo/client'
import { setContext } from '@apollo/client/link/context'

const httpLink = new HttpLink({
  uri: process.env.NEXT_PUBLIC_GRAFBASE_API_URL,
})

export const ApolloProviderWrapper = ({ children }: PropsWithChildren) => {
  const client = useMemo(() => {
    const authMiddleware = setContext(async (_, { headers }) => {
      const { token } = await fetch('/api/auth/token').then(res => res.json())

      return {
        headers: {
          ...headers,
          authorization: `Bearer ${token}`,
        },
      }
    })

    return new ApolloClient({
      link: from([authMiddleware, httpLink]),
      cache: new InMemoryCache(),
    })
  }, [])

  return <ApolloProvider client={client}>{children}</ApolloProvider>
}
You'll notice above we are sending an HTTP request to the API route /api/auth/token. This endpoint will be called before each GraphQL request and must respond with the current logged-in user JWT token. Without this, users wouldn't be able to make requests to the Grafbase backend.
Create the file src/pages/api/auth/token.ts and add the following:
import { NextApiRequest, NextApiResponse } from 'next'
import { getToken } from 'next-auth/jwt'
import { getServerSession } from 'next-auth/next'
import { authOptions } from './[...nextauth]'

const secret = process.env.NEXTAUTH_SECRET

export default async function handler(
  req: NextApiRequest,
  res: NextApiResponse,
) {
  const session = await getServerSession(req, res, authOptions)

  if (!session) {
    return res.send({
      error:
        'You must be signed in to view the protected content on this page.',
    })
  }

  const token = await getToken({ req, secret, raw: true })

  res.json({ token })
}
Don't forget to wrap the application with the <ApolloProviderWrapper />. We can do this inside src/pages/_app.tsx:
import { SessionProvider } from 'next-auth/react'
import type { AppProps } from 'next/app'
import { ApolloProviderWrapper } from '../components/apollo-provider-wrapper'
import '../styles/globals.css'

export default function App({
  Component,
  pageProps: { session, ...pageProps },
}: AppProps) {
  return (
    <SessionProvider session={session}>
      <ApolloProviderWrapper>
        <Component {...pageProps} />
      </ApolloProviderWrapper>
    </SessionProvider>
  )
}
Finally, add the NEXT_PUBLIC_GRAFBASE_API_URL value to the root .env file.
NEXT_PUBLIC_GRAFBASE_API_URL=http://localhost:4000/graphql
That's it. We're ready to start making requests!
Grafbase automatically generates a GraphQL query to fetch all messages from the database. We will use that query to fetch the recent messages, including the username, avatar, body, likes, and createdAt values:
Create the file src/components/message-list.tsx and add the following query:
import { gql } from '@apollo/client'

const GetRecentMessagesQuery = gql`
  query GetRecentMessages($last: Int) {
    messageCollection(last: $last) {
      edges {
        node {
          id
          username
          avatar
          body
          likes
          createdAt
        }
      }
    }
  }
`
We will be using the useQuery React hook from @apollo/client to execute the GraphQL query above when the page loads.
Update the imports to include useQuery and export a new MessageList component:
import type { Message as IMessage } from '@/components/message'
import { Message } from '@/components/message'
import { gql, useQuery } from '@apollo/client'

export const MessageList = () => {
  const { loading, error, data } = useQuery<{
    messageCollection: { edges: { node: IMessage }[] }
  }>(GetRecentMessagesQuery, {
    variables: {
      last: 100,
    },
  })

  return (
    <div className="flex flex-col space-y-3 overflow-y-scroll w-full">
      {data?.messageCollection?.edges?.map(({ node }) => (
        <Message key={node?.id} message={node} />
      ))}
    </div>
  )
}
You'll notice above we render the <Message /> component for each node in the messageCollection query.
Now we'll use the loading and error values from the useQuery hook to conditionally show a loading or error message:
import { gql, useQuery } from '@apollo/client'

export const MessageList = () => {
  const { loading, error, data } = useQuery<{
    messageCollection: { edges: { node: IMessage }[] }
  }>(GetRecentMessagesQuery, {
    variables: {
      last: 100,
    },
  })

  if (loading)
    return (
      <div className="h-full flex items-center justify-center">
        <p className="text-white">Fetching most recent chat messages.</p>
      </div>
    )

  if (error)
    return (
      <p className="text-white">Something went wrong. Refresh to try again.</p>
    )

  return (
    <div className="flex flex-col space-y-3 overflow-y-scroll w-full">
      {data?.messageCollection?.edges?.map(({ node }) => (
        <Message key={node?.id} message={node} />
      ))}
    </div>
  )
}
You're probably wondering where Message and IMessage comes from. Let's create that component next.
Create the file src/components/message.tsx. Inside this file we will add the contents below that renders the message passed to it as a prop and displays the avatar (from GitHub) using <Image /> component from Next.js:
import { useSession } from 'next-auth/react'
import Image from 'next/image'
export type Message = {
id: string
username: string
avatar?: string
body: string
likes: number
createdAt: string
}
interface Props {
message: Message
}
export const Message = ({ message }: Props) => {
const { data: session } = useSession()
return (
<div
className={`flex relative space-x-1 ${
message.username === session?.username
? 'flex-row-reverse space-x-reverse'
: 'flex-row'
}`}
>
{message?.avatar && (
<div className="w-12 h-12 overflow-hidden flex-shrink-0 rounded">
<Image
width={50}
height={50}
src={message.avatar}
alt={message.username}
/>
</div>
)}
<span
className={`inline-flex rounded space-x-2 items-start p-3 text-white ${
message.username === session?.username
? 'bg-[#4a9c6d]'
: 'bg-[#363739]'
} `}
>
{message.username !== session?.username && (
<span className="font-bold">{message.username}: </span>
)}
{message.body}
</span>
</div>
)
}
We use the useSession hook from next-auth/react to check if the current user is the author of the post. If it is we display the message on the right of the window, similar to what you'd expect in iMessage, WhatsApp, etc.
So that new messages aren't lost, we can scroll them into view automatically using the react-intersection-observer hook:
npm install react-intersection-observer
Now inside src/components/message-list.tsx add the following imports:
import { useEffect } from 'react'
import { useInView } from 'react-intersection-observer'
Then inside the MessageList function invoke both imported hooks:
export const MessageList = () => {
  const [scrollRef, inView, entry] = useInView({
    trackVisibility: true,
    delay: 500,
  })

  const { loading, error, data } = useQuery<{
    messageCollection: { edges: { node: IMessage }[] }
  }>(GetRecentMessagesQuery, {
    variables: {
      last: 100,
    },
  })

  useEffect(() => {
    if (inView) {
      entry?.target?.scrollIntoView({ behavior: 'auto' })
    }
  }, [data, entry, inView])

  // ...
}
Now update the contents of the <div /> to include a button that invokes scrollIntoView and add the scrollRef below the list of messages:
export const MessageList = () => {
  // ...

  return (
    <div className="flex flex-col space-y-3 overflow-y-scroll w-full">
      {!inView && (
        <div className="py-1.5 w-full px-3 z-10 text-xs absolute flex justify-center bottom-0 mb-[120px] inset-x-0">
          <button
            className="py-1.5 px-3 text-xs bg-[#1c1c1f] border border-[#363739] rounded-full text-white font-medium"
            onClick={() => entry?.target?.scrollIntoView({ behavior: 'auto' })}
          >
            Scroll to see the latest messages
          </button>
        </div>
      )}
      {data?.messageCollection?.edges?.map(({ node }) => (
        <Message key={node?.id} message={node} />
      ))}
      <div ref={scrollRef} />
    </div>
  )
}
We now have everything in place to show messages but we have no way to create them! Let's fix that.
Create the file src/components/new-message-form.tsx. Inside here we will write the GraphQL mutation needed to insert new messages into the Grafbase Database.
import { gql } from '@apollo/client'

const AddNewMessageMutation = gql`
  mutation AddNewMessage($username: String!, $avatar: URL, $body: String!) {
    messageCreate(
      input: { username: $username, avatar: $avatar, body: $body }
    ) {
      message {
        id
      }
    }
  }
`
Next export the functional component NewMessageForm that invokes useMutation from @apollo/client and adds a <form /> to capture the message body:
import { useState } from 'react'
import { gql, useMutation } from '@apollo/client'
import { useSession } from 'next-auth/react'

export const NewMessageForm = () => {
  const [addNewMessage] = useMutation(AddNewMessageMutation)

  return (
    <form
      onSubmit={e => {
        e.preventDefault()

        if (body) {
          addNewMessage({
            variables: {
              username: session?.username ?? '',
              avatar: session?.user?.image,
              body,
            },
          })
          setBody('')
        }
      }}
      className="flex items-center space-x-3"
    >
      <input
        autoFocus
        id="message"
        name="message"
        placeholder="Write a message..."
        value={body}
        onChange={e => setBody(e.target.value)}
        className="flex-1 h-12 px-3 rounded bg-[#222226] border border-[#222226] focus:border-[#222226] focus:outline-none text-white placeholder-white"
      />
      <button
        type="submit"
        className="bg-[#222226] rounded h-12 font-medium text-white w-24 text-lg border border-transparent"
        disabled={!body || !session}
      >
        Send
      </button>
    </form>
  )
}
Now we've all the components for users to read and send messages, we aren't using them in our app yet. Let's change that.
Inside src/pages/index.tsx replace the contents with the following:
import { Header } from '@/components/header'
import { MessageList } from '@/components/message-list'
import { NewMessageForm } from '@/components/new-message-form'
import { useSession } from 'next-auth/react'

export default function Home() {
  const { data: session } = useSession()

  return (
    <div className="flex flex-col">
      <Header />
      {session ? (
        <>
          <div className="flex-1 overflow-y-scroll p-6">
            <div className="max-w-4xl mx-auto">
              <div className="flex justify-between items-center">
                <MessageList />
              </div>
            </div>
          </div>
          <div className="p-6 bg-white/5 border-t border-[#363739]">
            <div className="max-w-4xl mx-auto">
              <NewMessageForm />
            </div>
          </div>
        </>
      ) : (
        <div className="h-full flex items-center justify-center">
          <p className="text-lg md:text-2xl text-white">
            Sign in to join the chat!
          </p>
        </div>
      )}
    </div>
  )
}
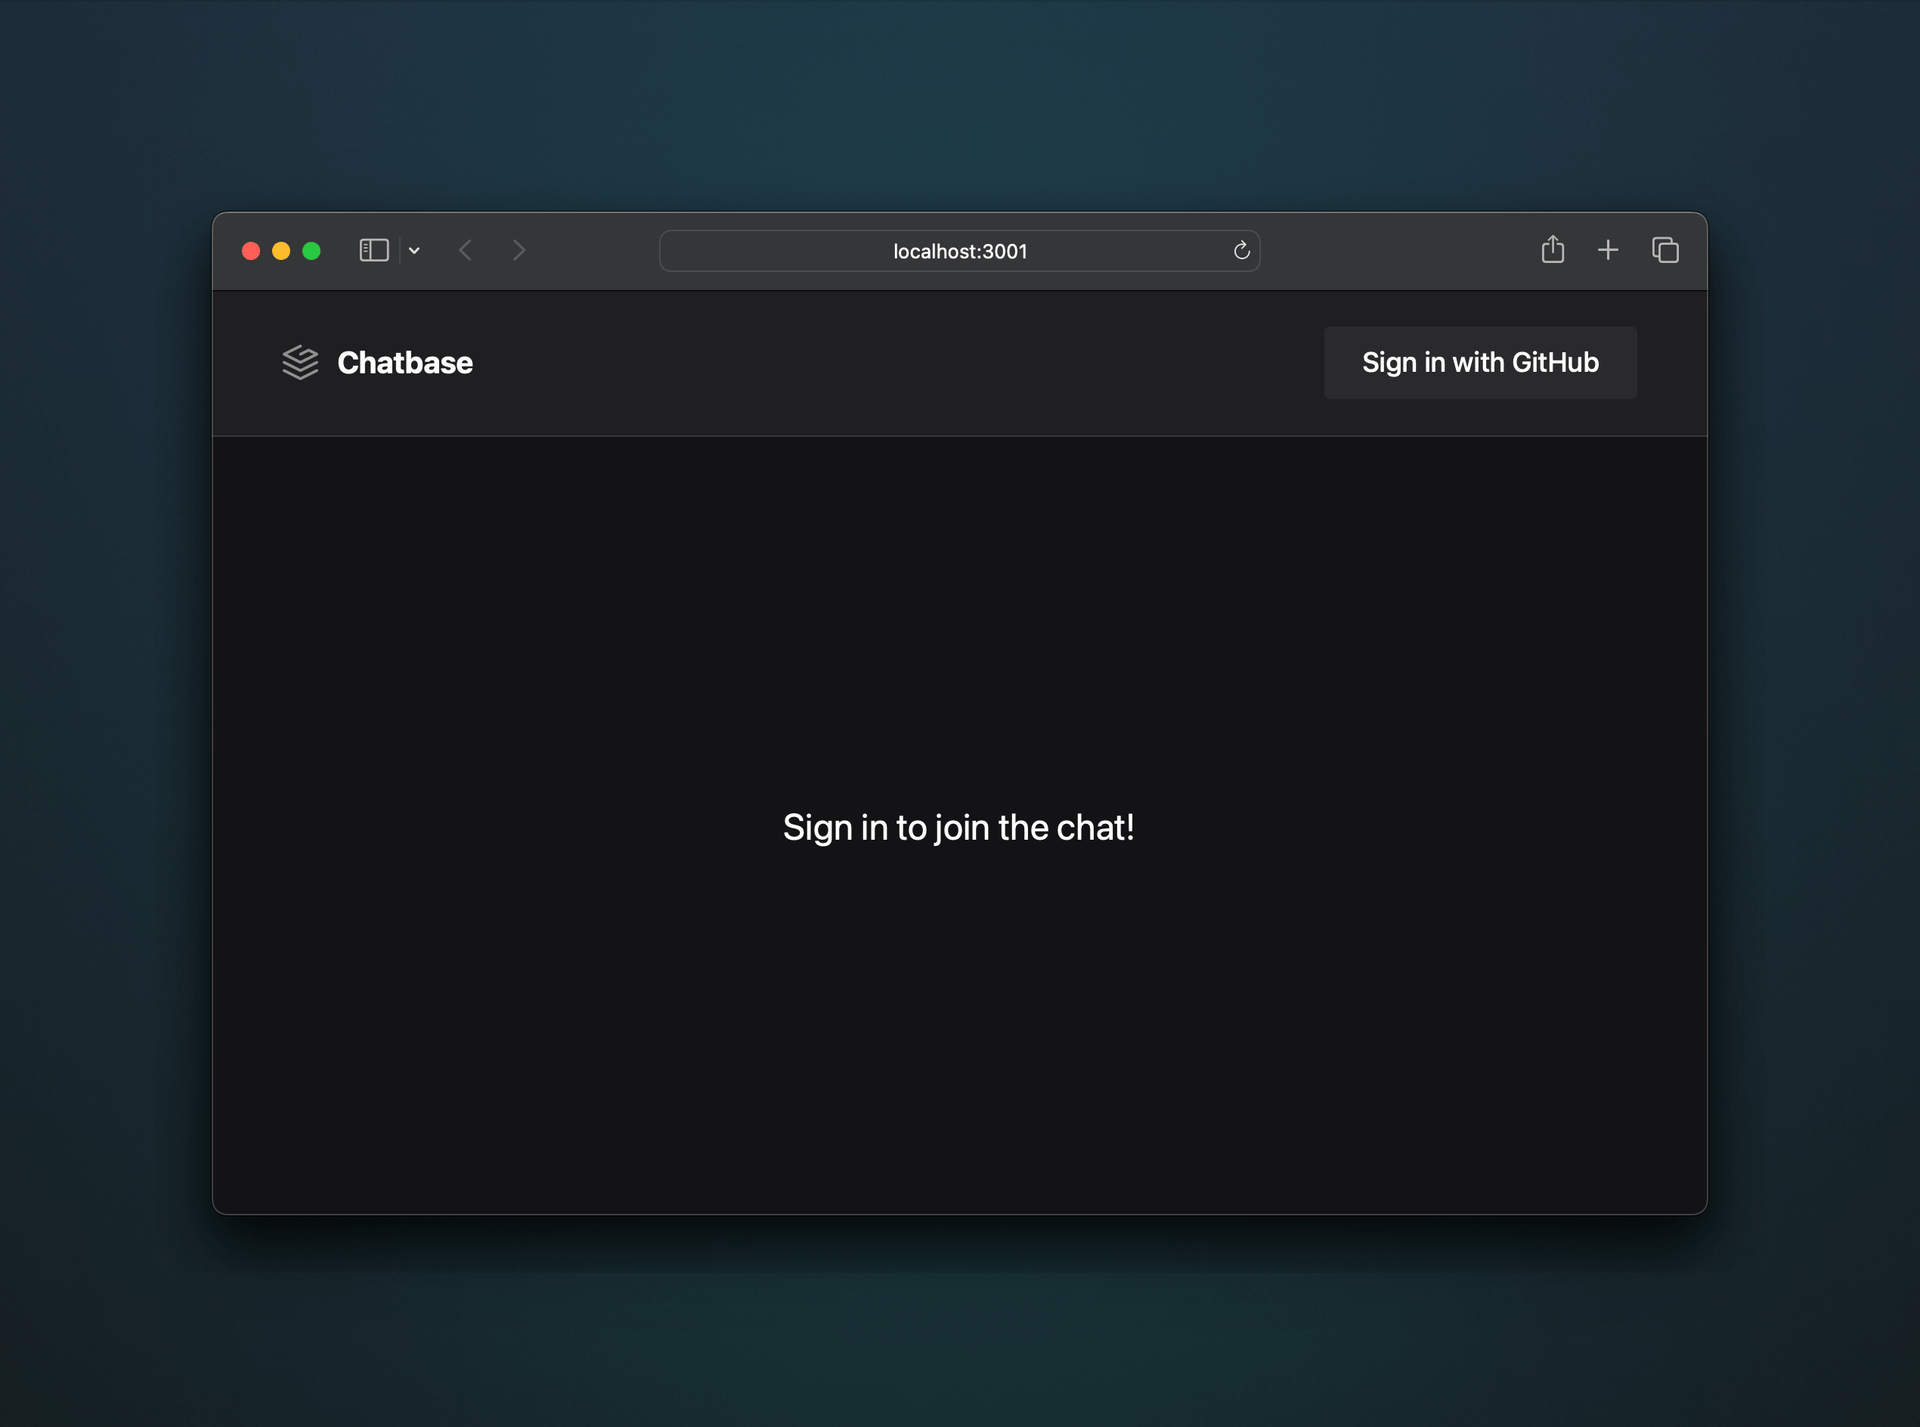
If you now go to http://localhost:3000 you should see something that looks like this:

You can now read and send messages!
We're almost done. Right now you can send messages and thanks to Apollo Client, messages will appear from you as if they were in real-time. This is Apollo Client automatically caching the new message.
However, if another user signs in, the messages won't appear from you unless they refresh the page.
Grafbase makes it easy to enable real-time using GraphQL @live queries.
To make a query "live", we can update the query inside src/components/message-list.tsx to include @live:
const GetRecentMessagesQuery = gql`
  query GetRecentMessages($last: Int) @live {
    messageCollection(last: $last) {
      edges {
        node {
          id
          username
          avatar
          body
          likes
          createdAt
        }
      }
    }
  }
`
Unfortunately, this isn't enough. The browser needs to know how to send and receive messages using server-sent events.
We'll be using a custom Apollo Link (built by Grafbase) that will automatically detect if @live is used in the query.
The custom Apollo Link will then automatically send and receive messages using the EventSource API.
npm install @grafbase/apollo-link
We now must update the src/components/apollo-provider-wrapper.tsx to use the @grafbase/apollo-link package:
import type { PropsWithChildren } from 'react'
import { useMemo } from 'react'
import {
  ApolloClient,
  ApolloProvider,
  HttpLink,
  InMemoryCache,
  from,
  split,
} from '@apollo/client'
import { setContext } from '@apollo/client/link/context'
import { SSELink, isLiveQuery } from '@grafbase/apollo-link'
import { getOperationAST } from 'graphql'

const httpLink = new HttpLink({
  uri: process.env.NEXT_PUBLIC_GRAFBASE_API_URL,
})

const sseLink = new SSELink({
  uri: process.env.NEXT_PUBLIC_GRAFBASE_API_URL!,
})

export const ApolloProviderWrapper = ({ children }: PropsWithChildren) => {
  const client = useMemo(() => {
    const authMiddleware = setContext(async (_, { headers }) => {
      const { token } = await fetch('/api/auth/token').then(res => res.json())

      return {
        headers: {
          ...headers,
          authorization: `Bearer ${token}`,
        },
      }
    })

    return new ApolloClient({
      link: from([
        authMiddleware,
        split(
          ({ query, operationName, variables }) =>
            isLiveQuery(getOperationAST(query, operationName), variables),
          sseLink,
          httpLink,
        ),
      ]),
      cache: new InMemoryCache(),
    })
  }, [])

  return <ApolloProvider client={client}>{children}</ApolloProvider>
}
That's it! The application should now be working in real-time using the Grafbase CLI.
Until now we've been working locally with the Grafbase CLI but you will need to create an account with Grafbase to deploy your new project.
We've made it super easy to deploy to Vercel.
- Fork and Push the code from this guide to GitHub
- Create an account with Grafbase
- Create a new project with Grafbase and connect your new repo
- Add the
NEXTAUTH_SECRETenvironment variable during project creation - Create a GitHub OAuth App with your production app callback URL:
[YOUR_DESIRED_VERCEL_DOMAIN]/api/auth/callback/github - Deploy to Vercel and add
.envvalues (NEXT_PUBLIC_GRAFBASE_API_URL*,NEXTAUTH_SECRET,GITHUB_CLIENT_ID,GITHUB_CLIENT_SECRET)
NEXT_PUBLIC_GRAFBASE_API_URLis your production API endpoint. You can find this from the Connect modal in your project dashboard.
